

Winter Mountain Hiking Clothing Guide: Master the 3-Layer Rule for Warmth & Safety
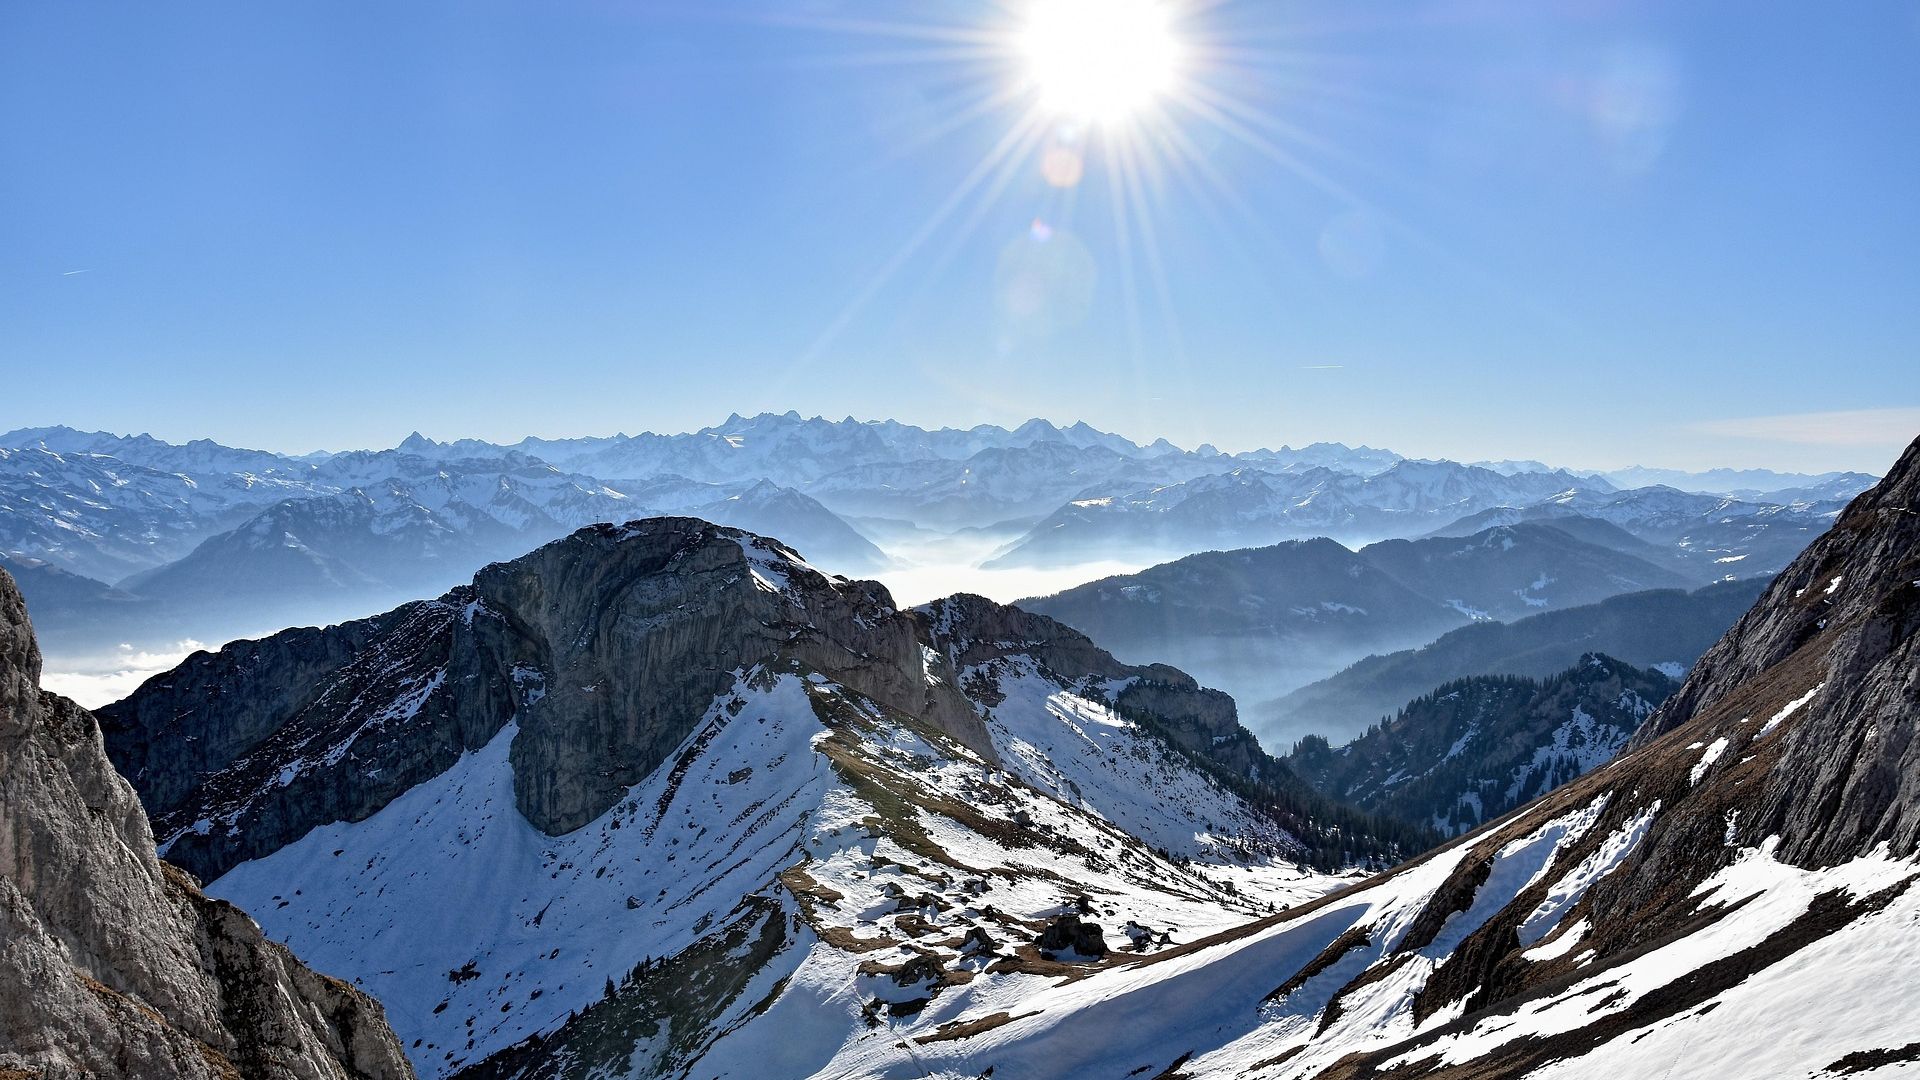
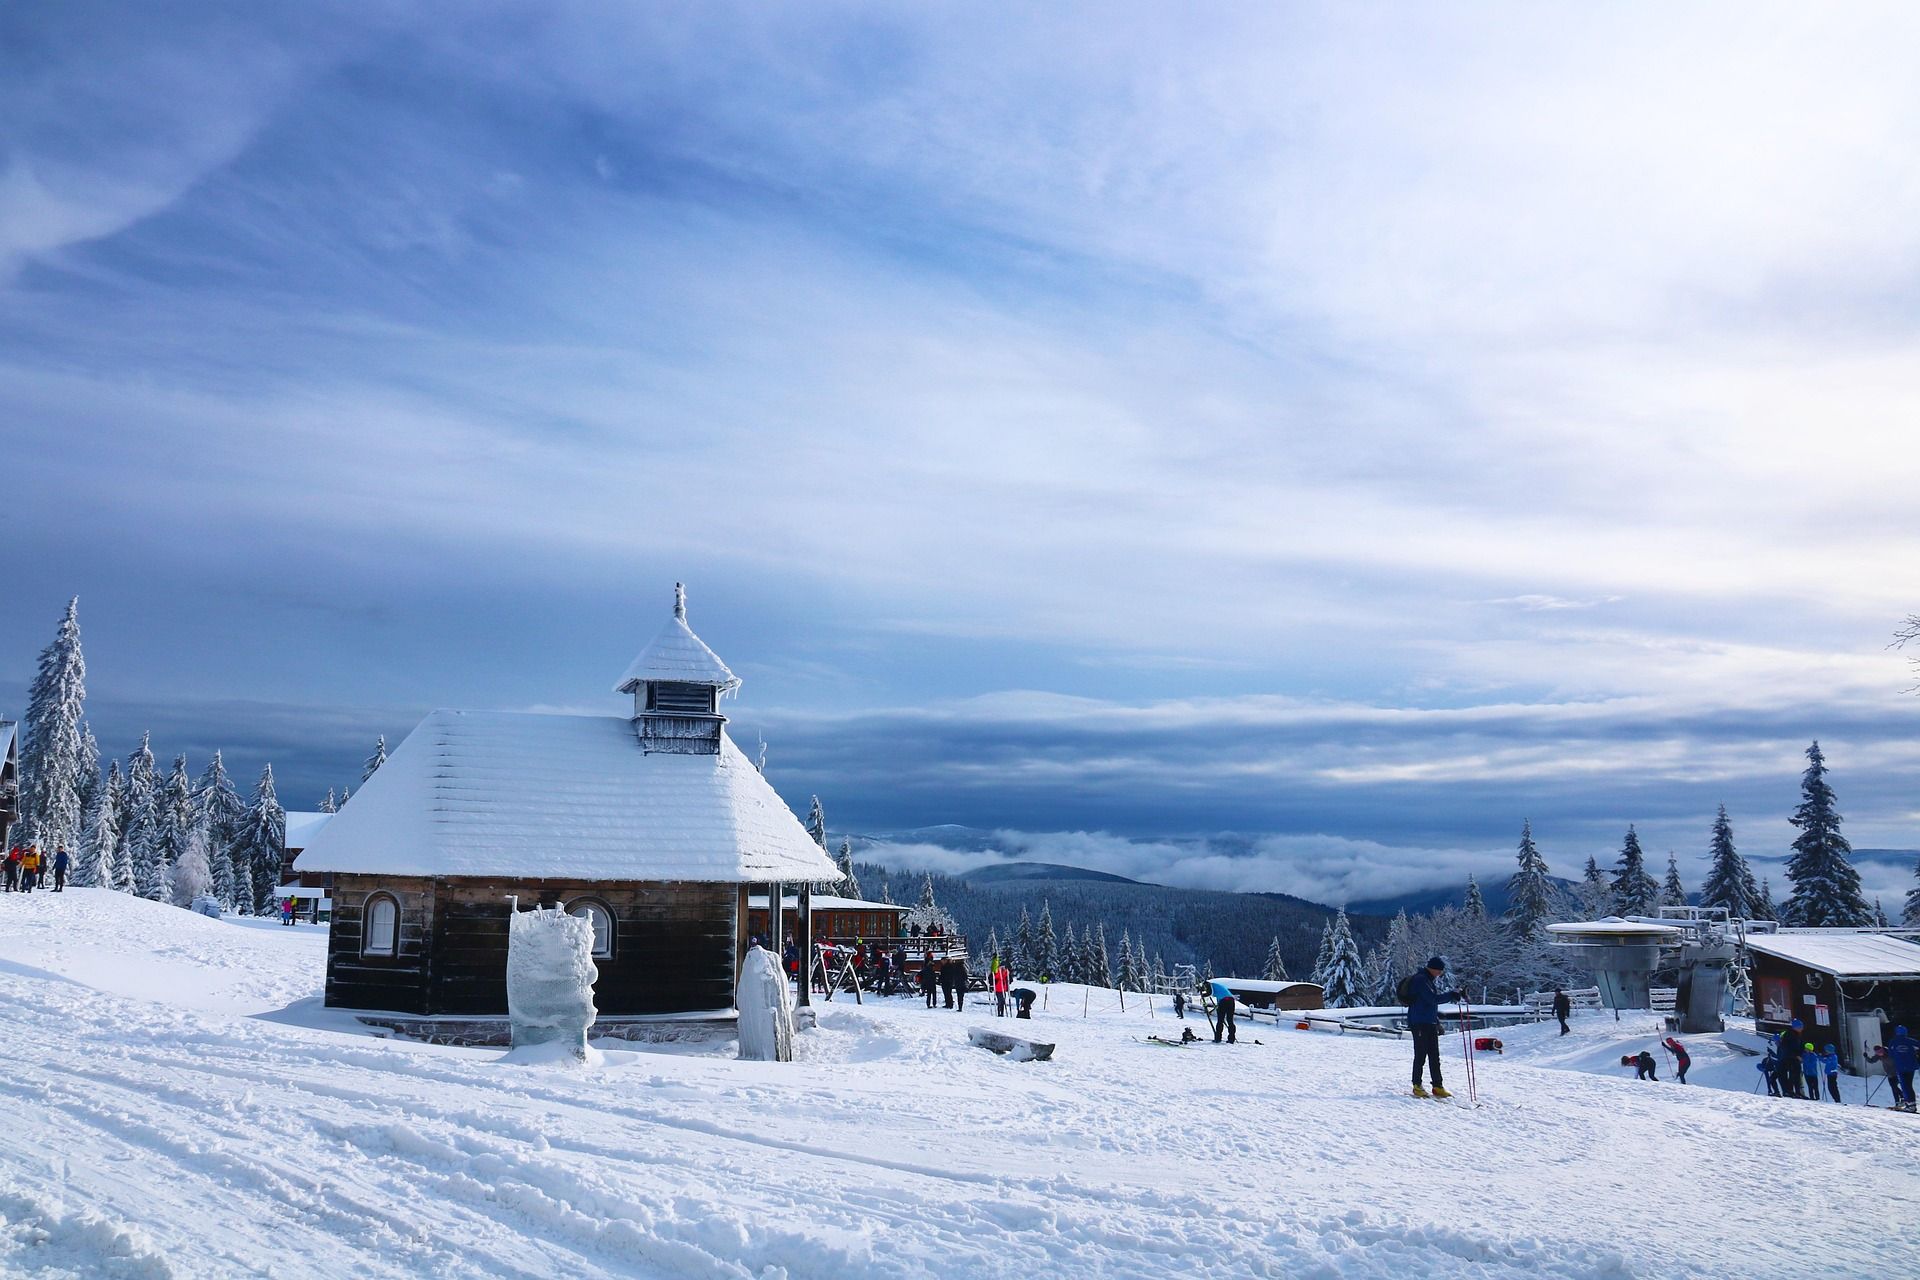
Winter mountain hiking is pure magic—silent snow-covered trails, crisp mountain air, and panoramic views untouched by crowds. But the same cold and wind that make winter hiking beautiful can also make it dangerous if you’re not dressed properly. The biggest misunderstanding? Thinking “more clothing = more warmth.” In reality, sweating and then getting chilled by wind is one of the fastest ways to develop hypothermia.
That’s why the 3-layer clothing rule is the gold standard for winter hiking. It keeps your body dry, warm, and protected in all conditions—whether you’re climbing steep slopes or resting at a windy summit.
This guide breaks down the 3-layer system (upper and lower body), explains material choices, gives temperature-based outfit ideas, and provides practical tips to help you stay safe and comfortable on winter trails.
Why the 3-Layer Rule Works
Winter hiking isn’t about stacking the thickest clothes you can find. It’s about balance. The 3-layer system is designed to:
-
Wick moisture away so sweat doesn’t freeze on your skin
-
Trap heat efficiently without overheating
-
Block wind, snow, and rain to protect your body
-
Regulate temperature whether you’re moving or resting
The ultimate goal: stay dry and maintain a steady body temperature, reducing the risk of hypothermia.
Layer 1: Base Layer – Moisture Management
Your base layer is your first defense against cold—it keeps sweat away from your skin. If sweat stays on your body, cold air will quickly turn it into freezing moisture.
What to Look For
-
Materials: Polyester, nylon blends, or merino wool
-
Fit: Snug but not tight for maximum wicking performance
-
Avoid: Cotton and cooling fabrics—they trap moisture and become dangerously cold
Best For
All winter temperatures. A proper base layer is non-negotiable from 5°C (41°F) to -20°C (-4°F) and below.
Layer 2: Mid Layer – Insulation to Retain Heat
The mid layer traps warm air close to your body. It must offer warmth without causing overheating during intense movement.
Top Insulation Options
| Material | Advantages | Best For | Notes |
| Fleece (100/200/300 weight) | Breathable, affordable | Mild to moderate cold | Not suitable as a base layer |
| Wool Jackets | Warm, antibacterial | Dry, cold weather | Avoid moisture |
| own Jackets | Ultra-warm, lightweight | Extreme cold, low-exertion moments | Loses warmth when wet; avoid heavy sweating |
| Synthetic Insulation (e.g., PrimaLoft) | Warm even when wet | Snowy or humid environments | Pricier but reliable |
Pro Tips
-
Choose warmth based on activity level—not just temperature
-
Save down jackets for rest stops
-
Use fleece or synthetic insulation while climbing
Layer 3: Outer Shell – Weather Protection
Your outer shell shields you from wind, snow, and rain. It must be protective yet breathable enough to release excess heat.
Two Main Types
Hardshell Jackets
-
Fully waterproof and windproof
-
Ideal for heavy snow or strong wind
-
Less breathable—use only when necessary
Softshell Jackets
-
Breathable, flexible, comfortable
-
Great for dry or slightly windy days
-
Not fully waterproof
Must-Have Features
-
Adjustable hood, cuffs, and hem
-
Ventilation zippers
-
Durable fabric to handle abrasion
Lower Body Layering: Simpler Than Upper Body
Your legs generate more heat than your torso, so most hikers only need 2 layers:
1. Base Layer Bottoms
-
Merino wool or polyester tights
-
Avoid cotton
2. Outer Layer Pants
-
Softshell pants for dry, cold days
-
Hardshell pants for snow, rain, or slushy terrain
Extreme Cold (-10°C / 14°F and below)
Add one thin fleece pant liner. Avoid thick cotton sweatpants—they trap moisture and restrict movement.
Temperature-Based Winter Hiking Outfit Guide
| Temperature | Upper Body | Lower Body | Extras |
| 5°C–10°C (41°F–50°F) | Merino base layer + softshell | Moisture-wicking leggings + softshell pants | Light hat, gloves, wool socks |
| -5°C–5°C (23°F–41°F) | Polyester base layer + 200g fleece + hardshell | Wool base + softshell + thin fleece liner | Neck gaiter, mid-cut boots |
| -10°C–-5°C (14°F–23°F) | Thick merino base + 300g fleece + down + hardshell | Wool base + fleece liner + hardshell pants | Insulated gloves, thermal hat |
| Below -10°C (14°F) | Merino base + synthetic insulation + thick down + waterproof hardshell | Merino base + thick fleece + insulated hardshell | Balaclava, warmers, insulated boots |
Pro Tips for Winter Hiking Clothing
1. Adjust Layers Frequently
-
Remove layers while climbing to avoid sweating
-
Add layers immediately when stopping—heat loss happens fast
2. Protect Key Heat-Loss Areas
-
Head (up to 30% of heat loss)
-
Neck
-
Hands
-
Feet
3. Bring Backup Clothing
A dry base layer and dry socks can prevent hypothermia.
4. Maintain Your Gear
-
Wash base layers in cold water
-
Reapply waterproofing spray to outer shells every 6 months
Final Thoughts: Dress Smart, Hike Safe
Winter hiking is about respecting nature—and that begins with proper clothing. The 3-layer rule isn’t a trend; it’s a proven survival system designed to balance warmth, breathability, and protection.
Choose the right materials, layer intelligently, and you’ll enjoy winter mountains comfortably and safely.